


Why am I scanning film negatives?

Large- and medium-format film photography feels like a different art form from digital photography. Yes, it shares the same visual language, but the tools are so different, and the aesthetic is considerably different.
The lifecycle of image capture is measured in hours or days, not milliseconds, from button press to review on the back of the camera. Instead, the film is exposed, and we, the photographer, are left imagining what we have captured.
My initial forays into the dark arts of film photography have relied on a lab to develop and scan my negatives. My rationale was the overwhelming amount I needed to learn about the camera before I delved into developing or scanning.
Recently, I decided to expand my learning into scanning, mainly because I wasn’t satisfied with the digital films the lab was sending me.
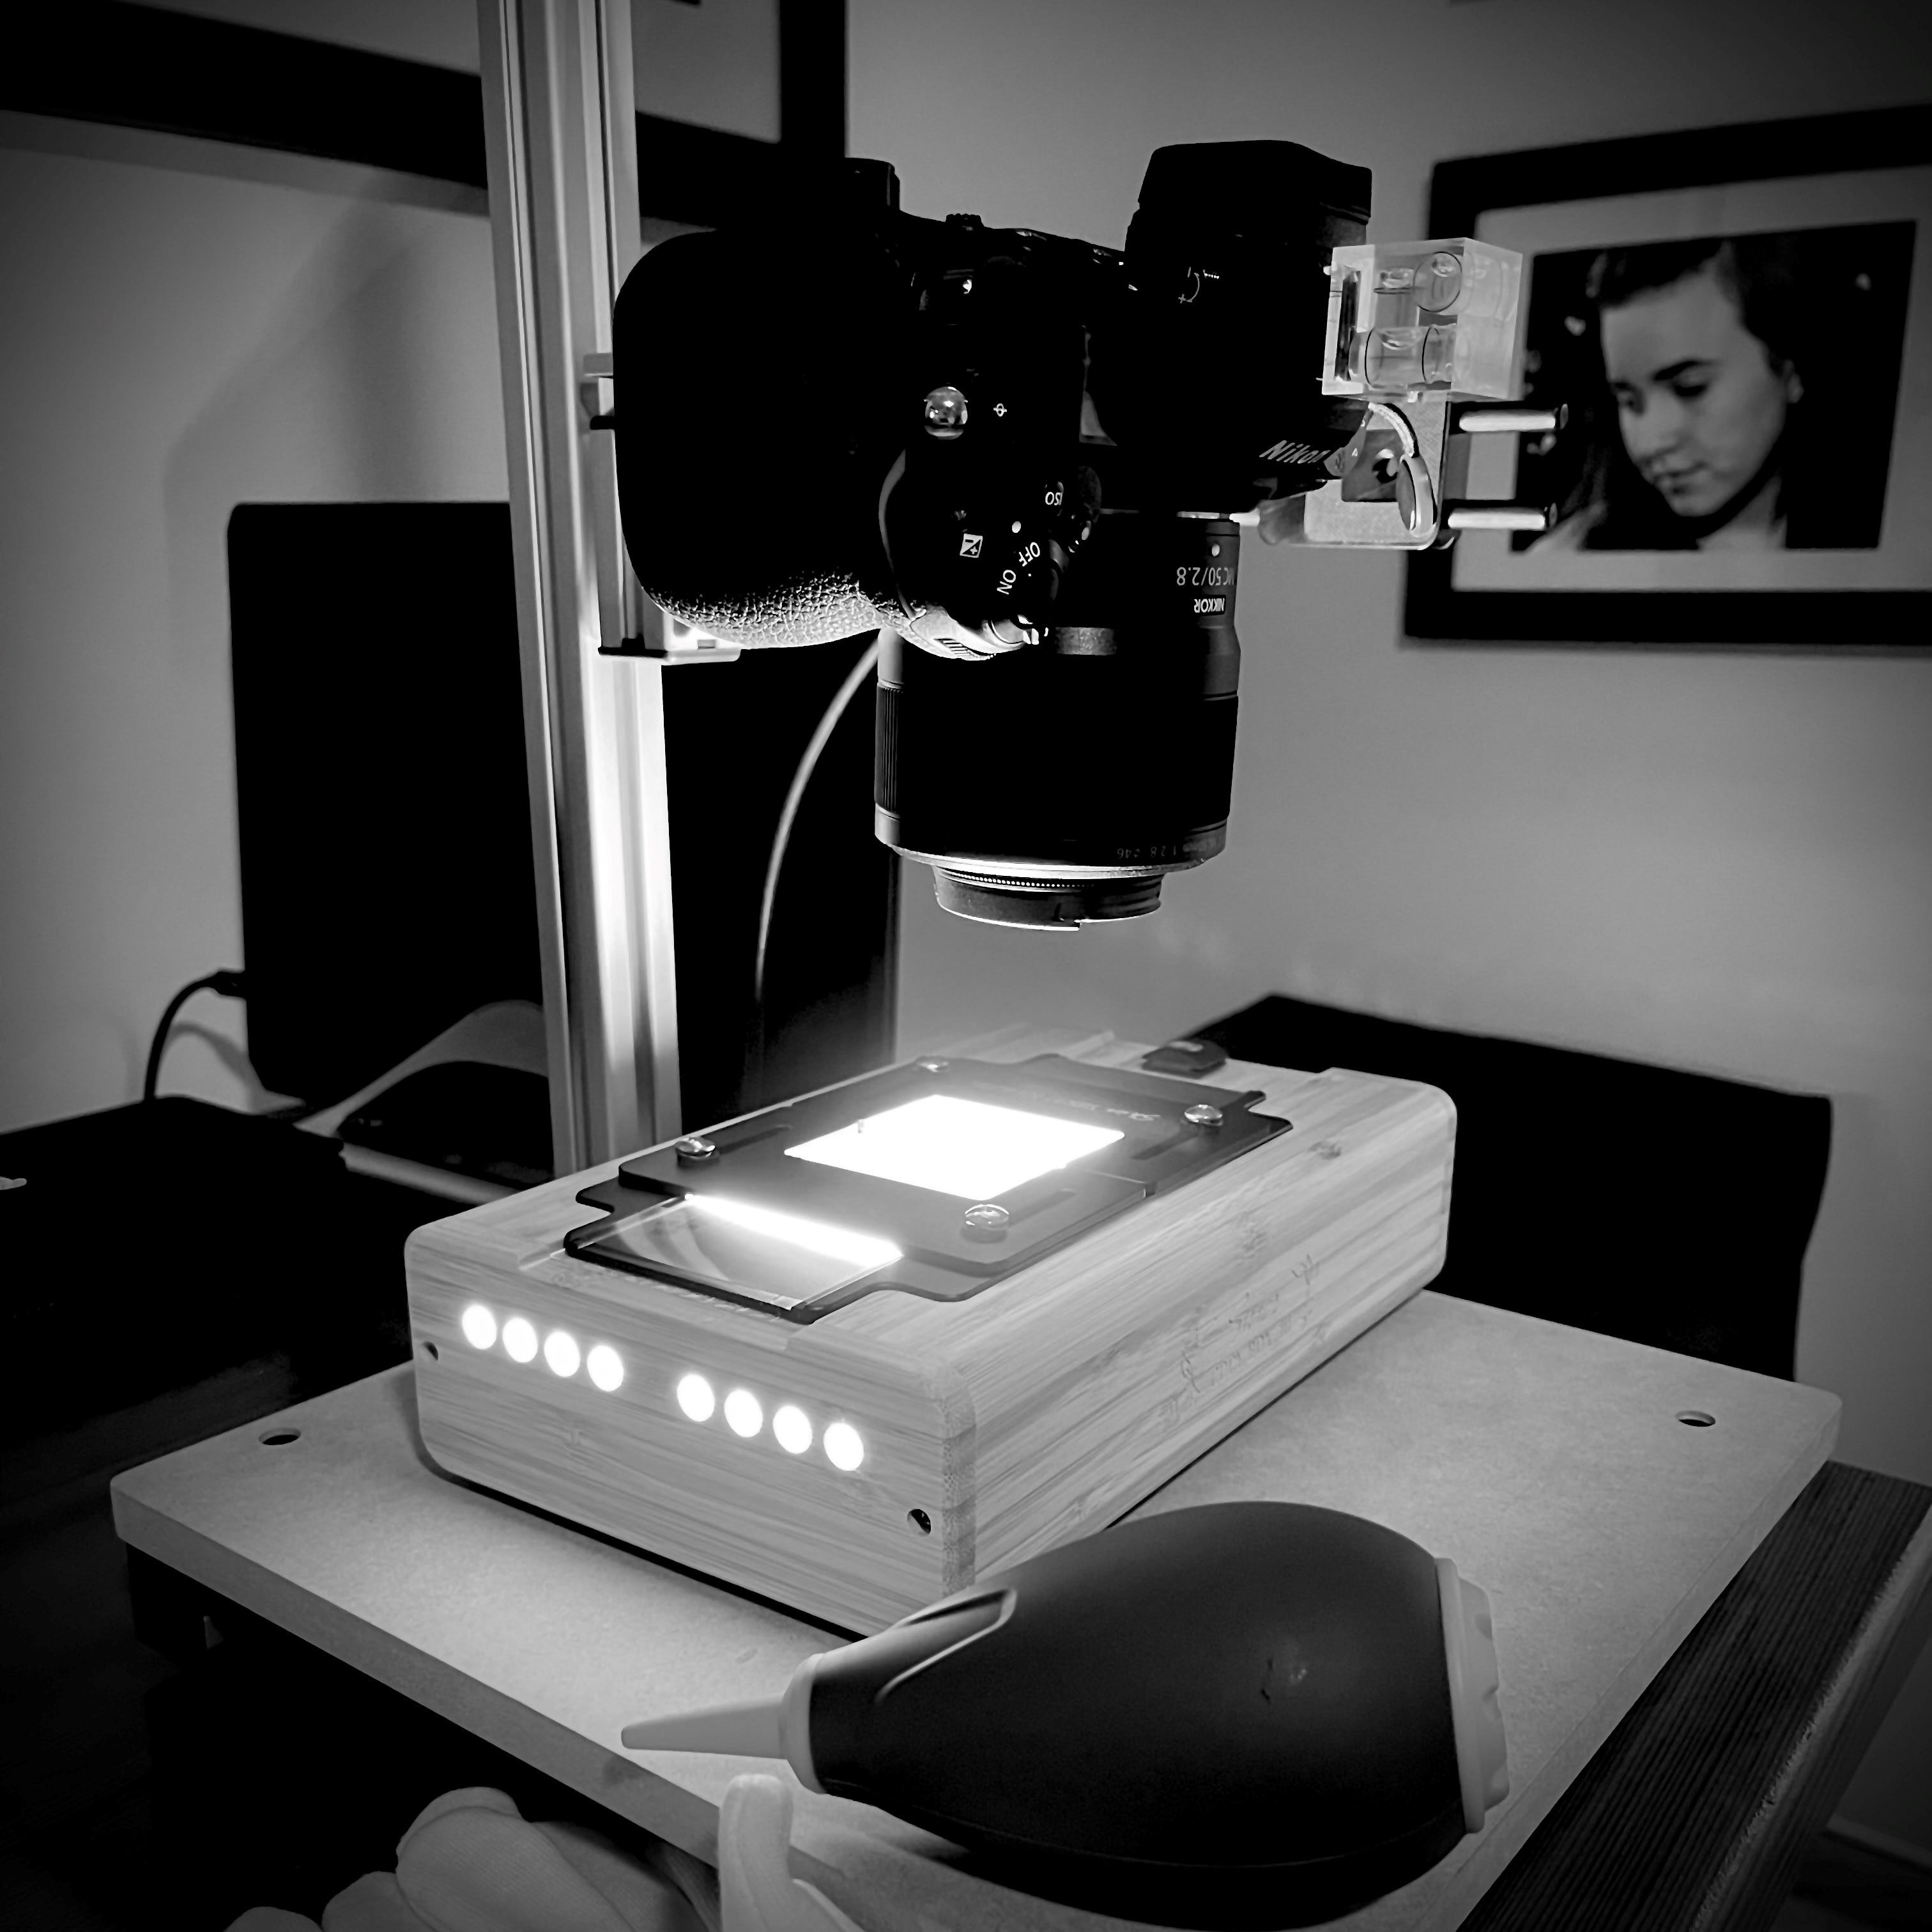
This is the first scan I created. It was a series of nine images that were taken using my Nikon Z7ii mounted on a copy stand and a Sunray light box to hold and illuminate the negative. I could have captured the negative as a single image; that is how the lab captures them. However, I was looking to explore the quality of the negative at a deeper level. By using a macro lens set to 1-to-1 magnification, the sensor was capturing images from the negative, matching the negative area to the sensor area (thus the one-to-one ratio); this required a set of three-by-three images to completely capture the image and overlap each area by enough for the software to stitch the final image together. The resulting image was 14,000 pixels wide and high. Because each pixel is captured with a vast range of tones requiring 14 Bits of digital data, the resulting image was close to 400MB!
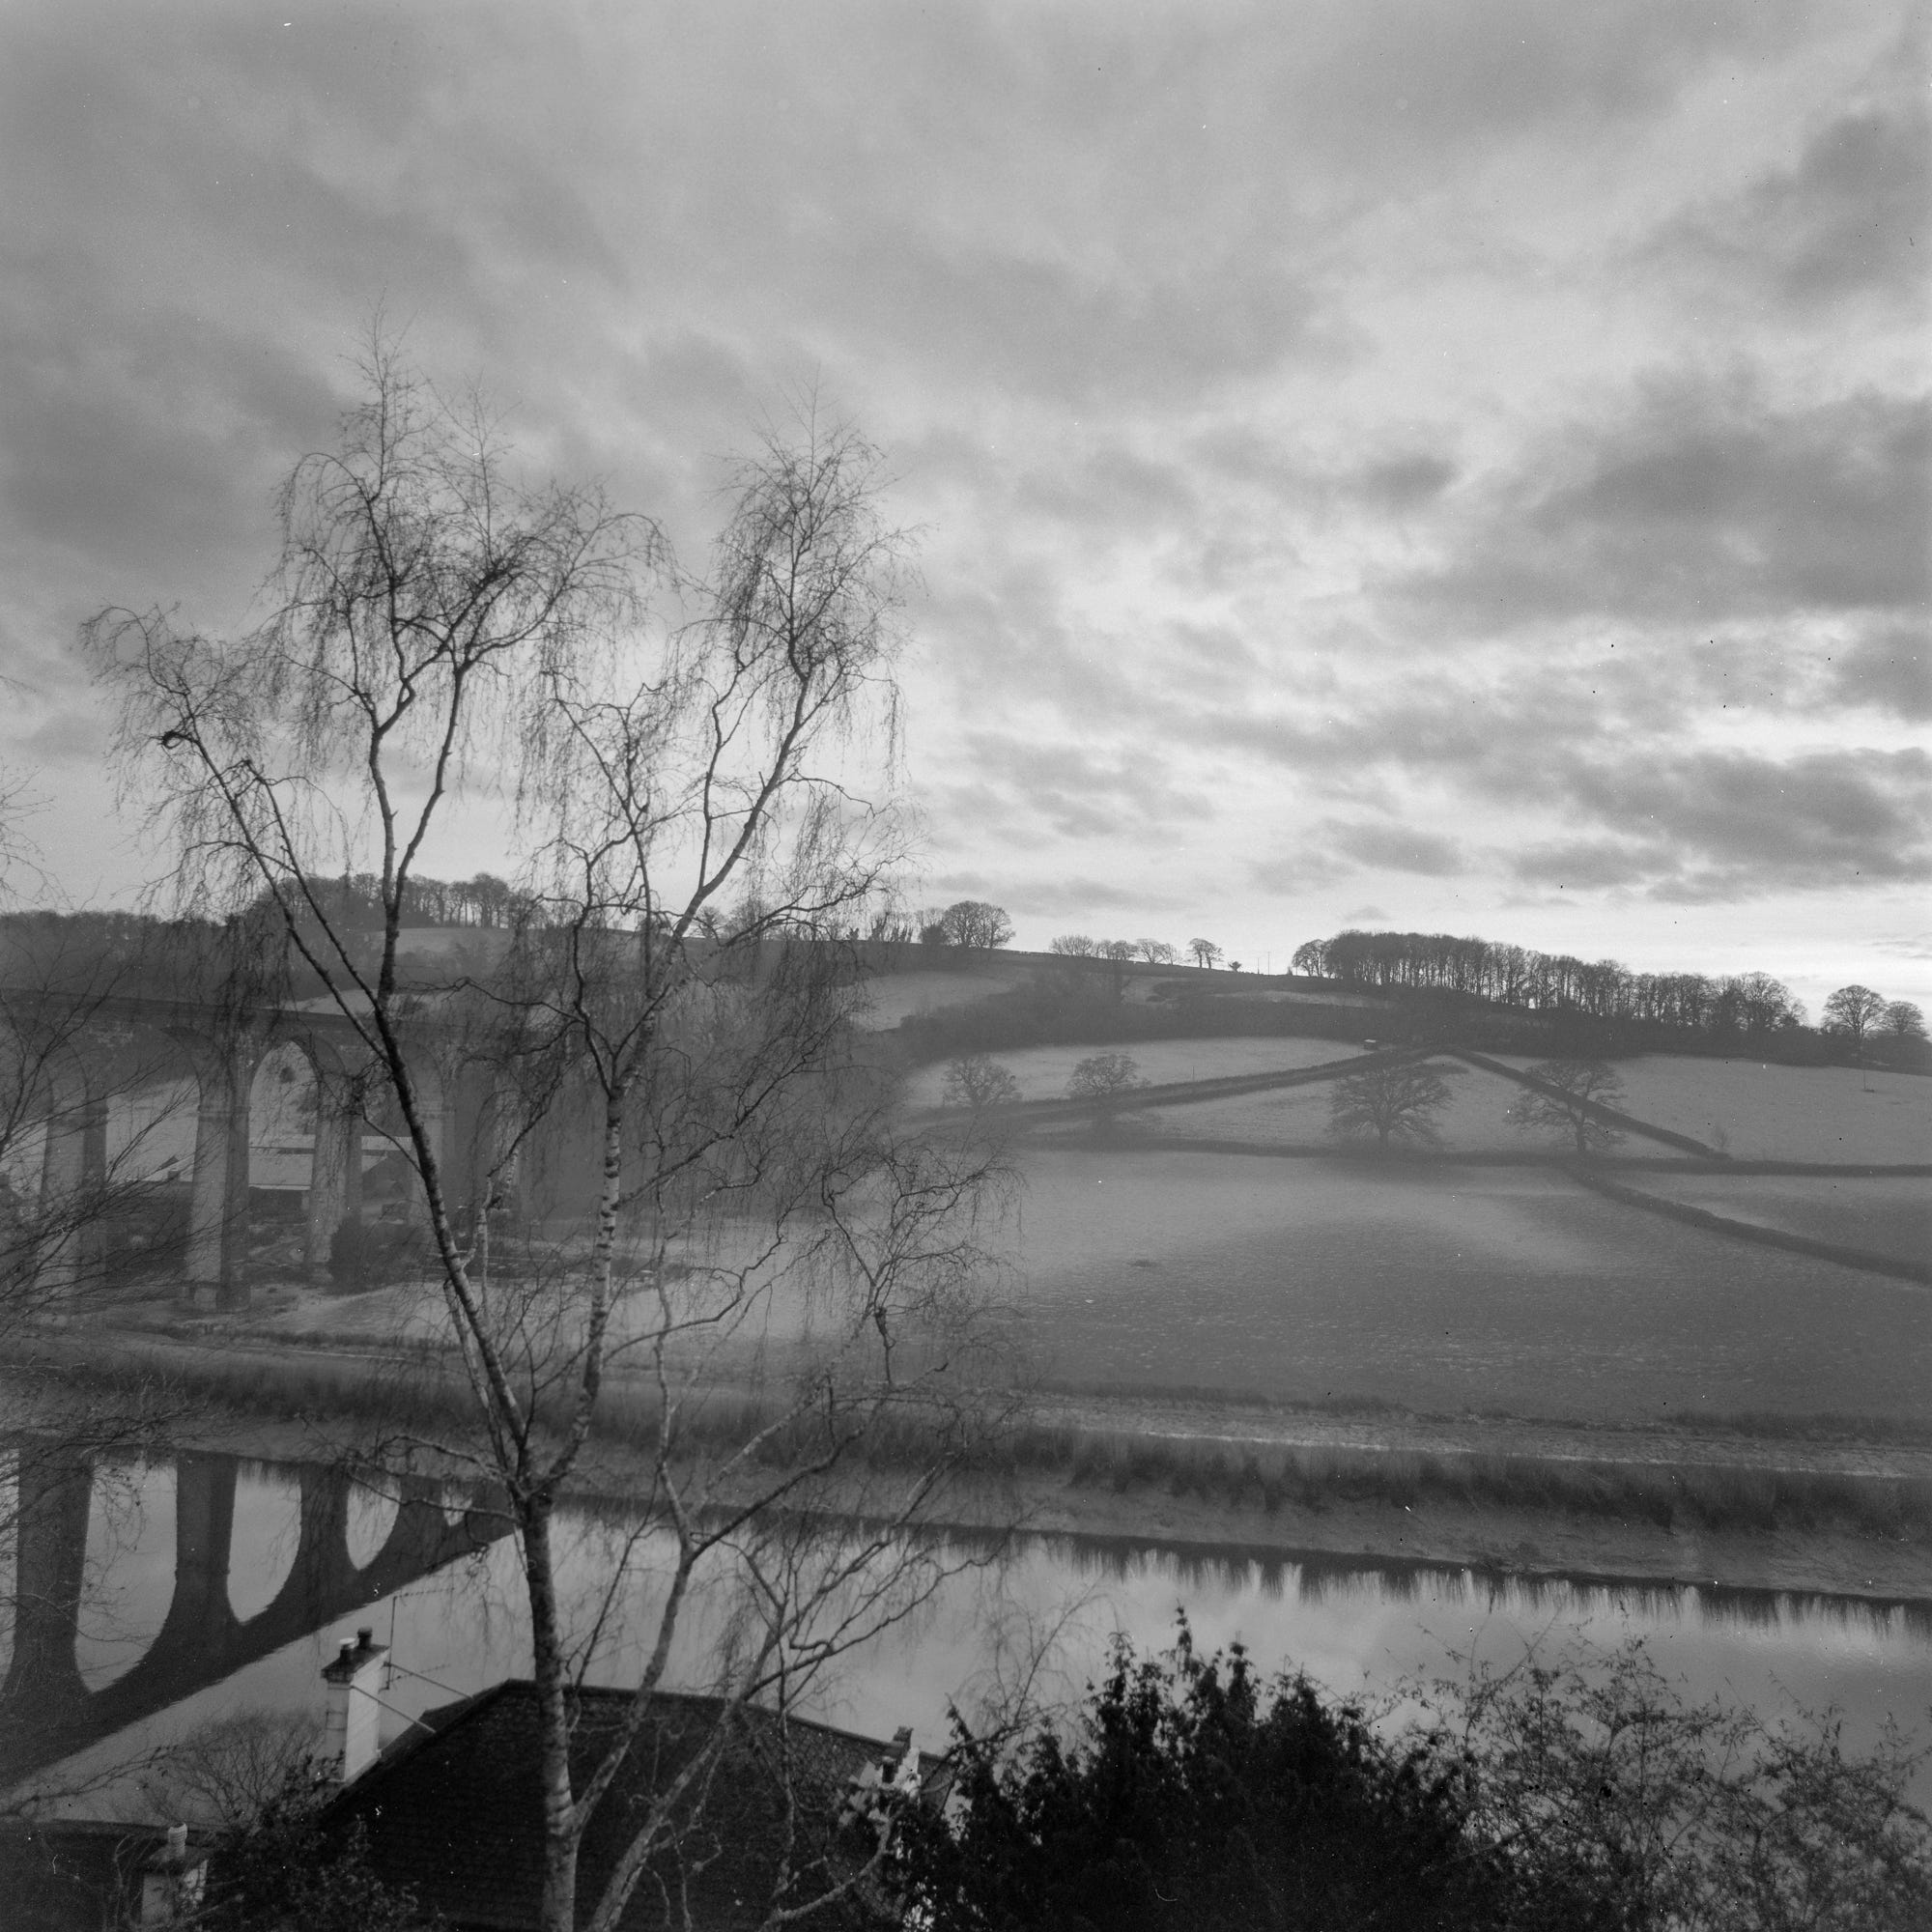
But why did I bother? When I examined the original file from the lab, I found a very finite grain that appeared when I started looking closely. Also, there was limited data, so adjacent pixels were quite different in tone. The subtlety was being lost; the data that seemed to go on forever in analogue film was missing from the scans.
This image shows the difference. The left half shows a zoomed-in version of the lab scan; the right is the version I created. Even more interesting is that the right image is already zoomed in twice as close as the lab scan on the left, yet still, more information is available. This higher resolution and greater tonal range allow me to edit the image by cropping or manipulating the tonal values through dodging and burning. This level of flexibility doesn’t exist in the lab scans.
Using this approach, I am scanning approximately 4500 pixels per inch. I think that is enough for now! Two significant improvements in my setup allowed these improvements in scanning. First, the macro lens, I am using a Nikkor 50mm macro lens. The macro lens is designed to have no distortion and a consistent focus across the entire image. This helps minimise the correction that needs to occur in the software when stitching the individual photos together. The second improvement was a copy stand, which holds the camera and light box rigidly, allowing for much greater focus precision and consistent exposure without altering the settings between images.
Well, that’s enough nerding out for now. I look forward to sharing more scans as I start using medium—and large-format film for school work. The semester started last week at art school, so I am head down learning and working towards the MA. I hope to share some of my projects soon.
Admittedly, scanning is my least favorite part of film photography. I’m not satisfied with lab scans and camera scanning sounds too fiddly and time-consuming. I’ve used Epson flatbeds for medium format scans and the results were acceptable for web use. I don’t have a good solution for 35mm yet.
While I don't have negatives of my own to scan, my late father-in-law left behind a treasure trove of slides. He was strictly a film guy; never made the switch to digital. Now I have to figure out what to do with thousands of slides, and how to preserve the best ones.